Modern, simple software for deep focus stacks. Built by a photographer, for photographers.
I've spent twenty years shooting landscapes and macro, from blue-hour flower fields to insects at five times life size. I made PlaneFuse because I wanted a stacker that kept my RAW workflow intact. It runs on my own computer, gives me a file I can still grade, and does not need an account or subscription.
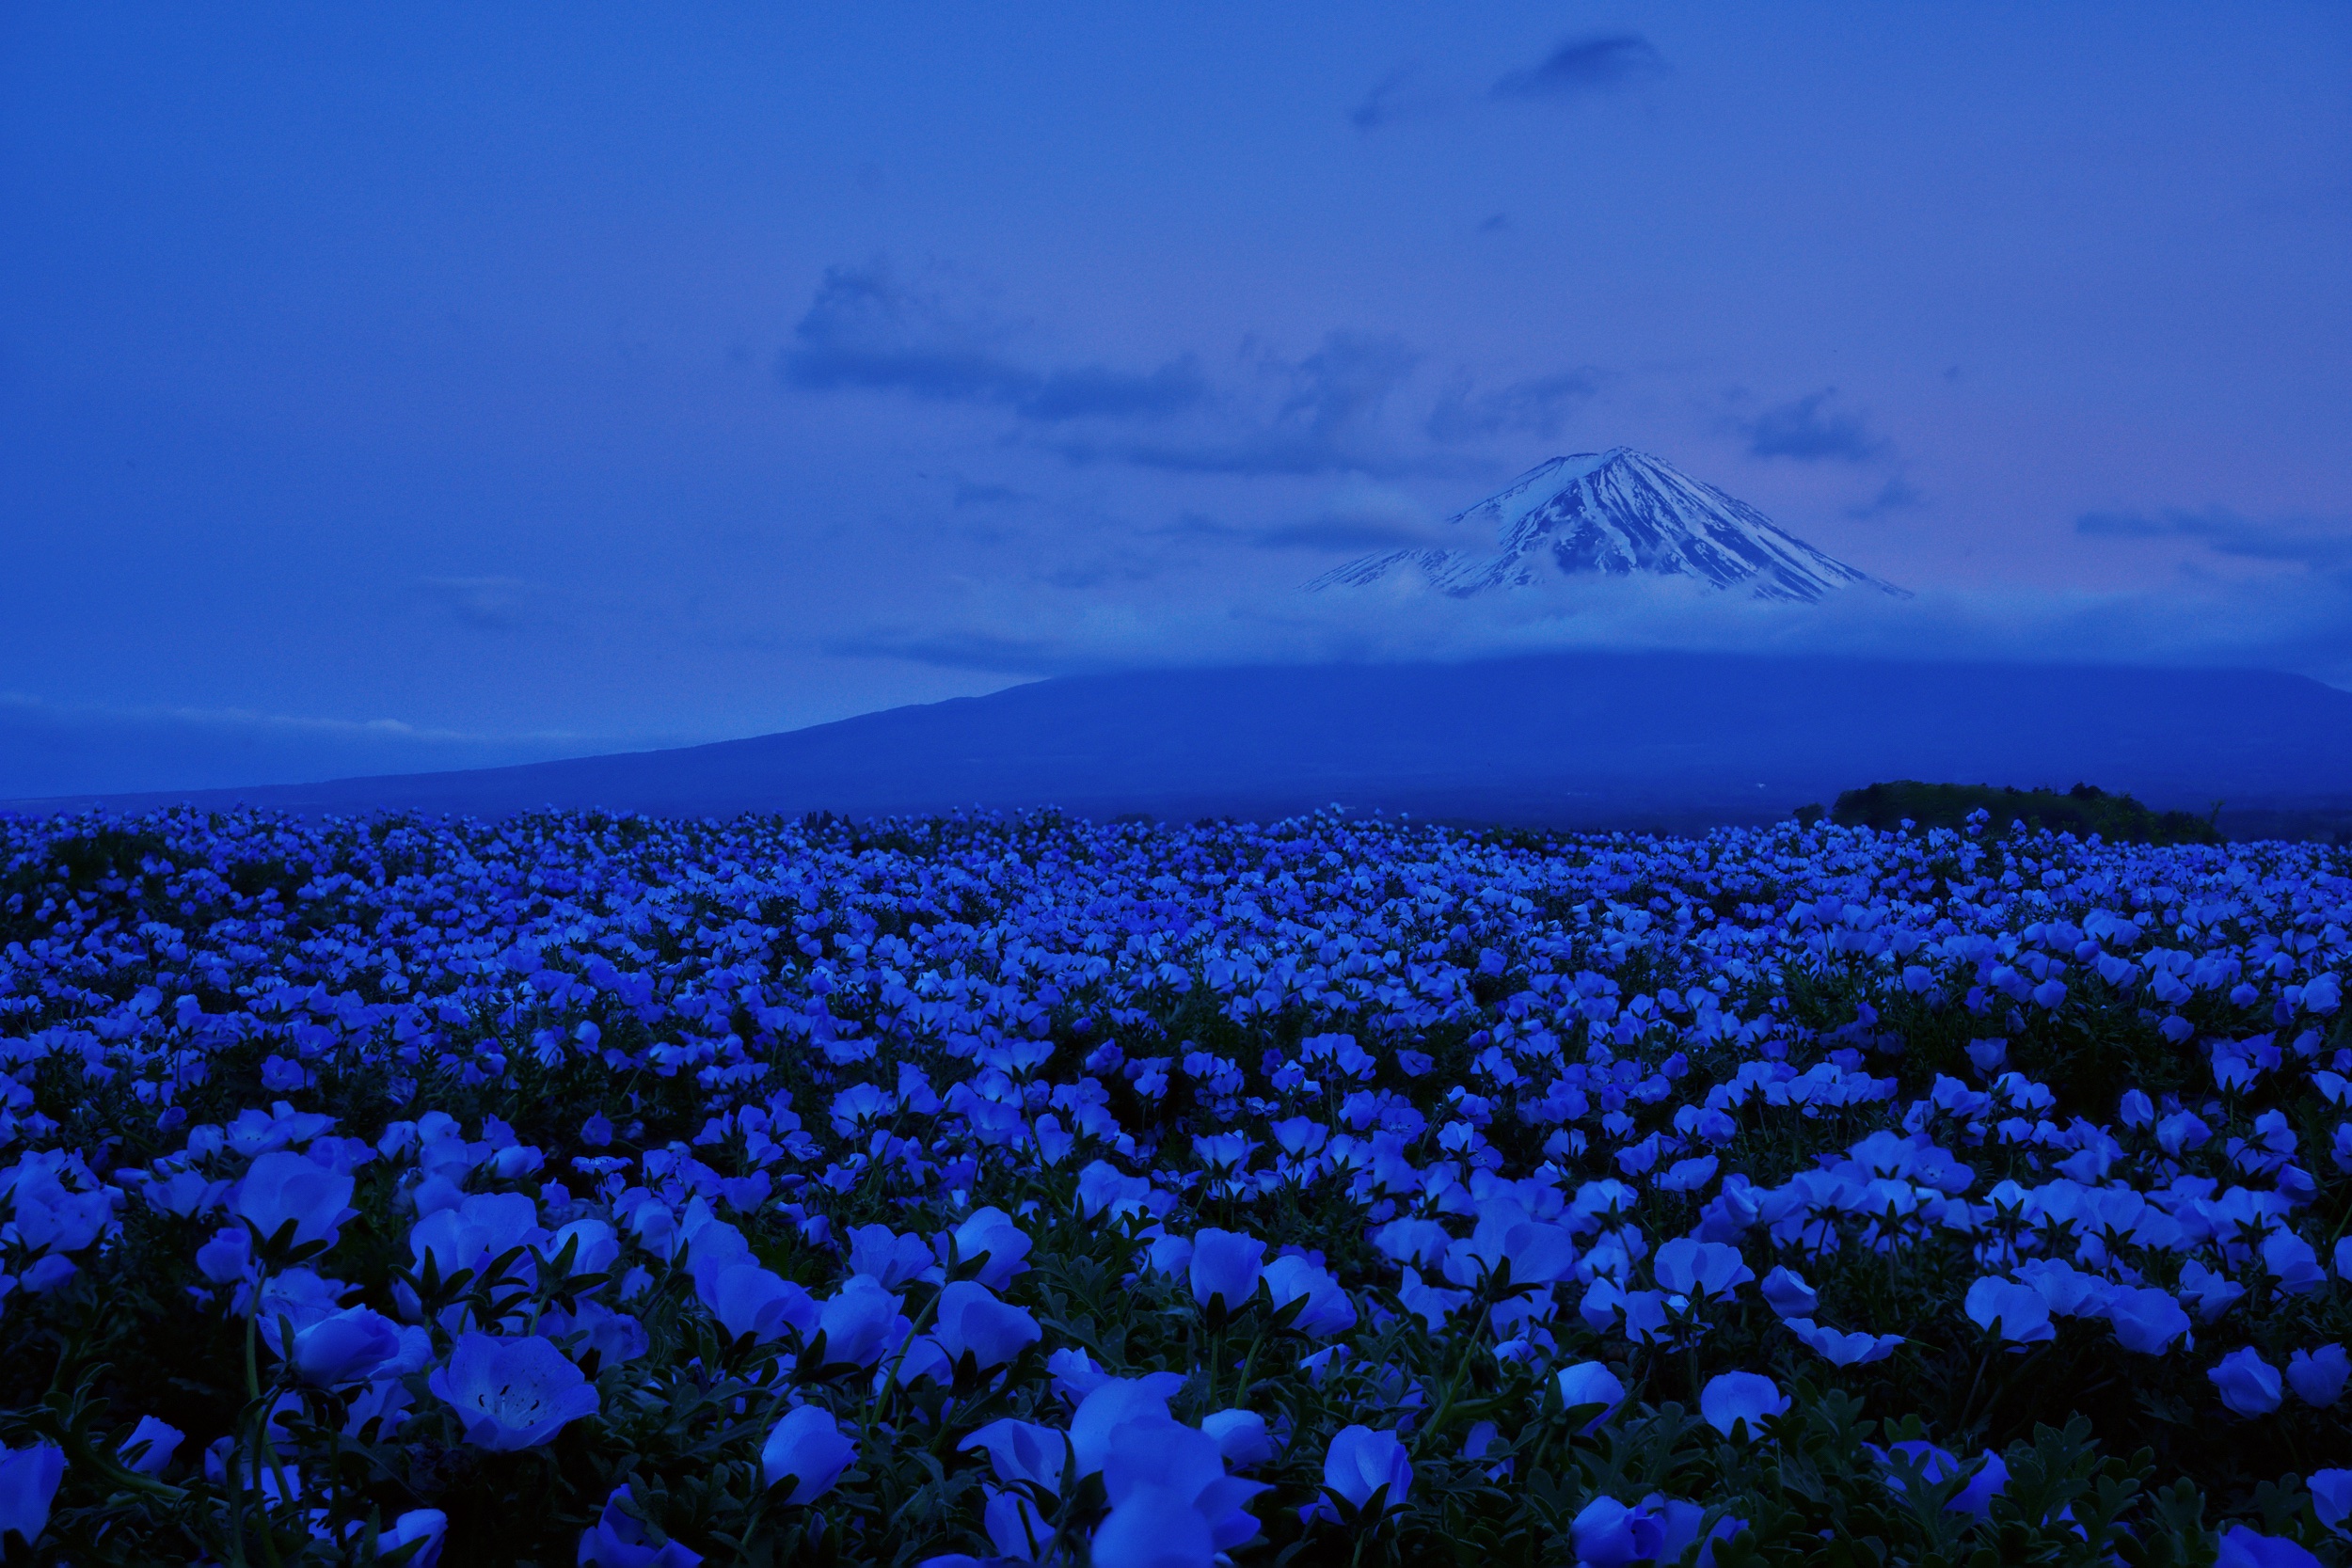
This blue-hour bracket is from my archive: Nemophila in bloom, with Mt. Fuji in the distance. Scroll to bring the scene into focus.


What's inside
What I wanted from a focus stacker.
Four stacking methods
PMax is what I use for most macro and product work. DMap is smoother on clean subjects and can also produce a depth map. When overlapping foliage gives PMax trouble, weighted average usually leaves fewer halos. Slab is for very deep macro sequences, where a single pass can fall over. You can run one method or compare all four.
Alignment & frame selection
I shoot outdoors, so alignment has to cope with wind, handheld brackets and the odd tripod nudge. PlaneFuse has translation, similarity and perspective models. It can drop a frame that won't line up cleanly and thin a redundant 150-frame bracket before stacking.
No-bake RAW → Linear DNG
The RAW workflow is why I started building PlaneFuse. Other stackers gave me a flattened file with the white balance and tone already baked in. PlaneFuse works in scene-linear camera RGB and exports a Linear DNG. I can open it in Capture One, or another raw developer, and grade it as I would a normal capture.
Deep-zoom workspace
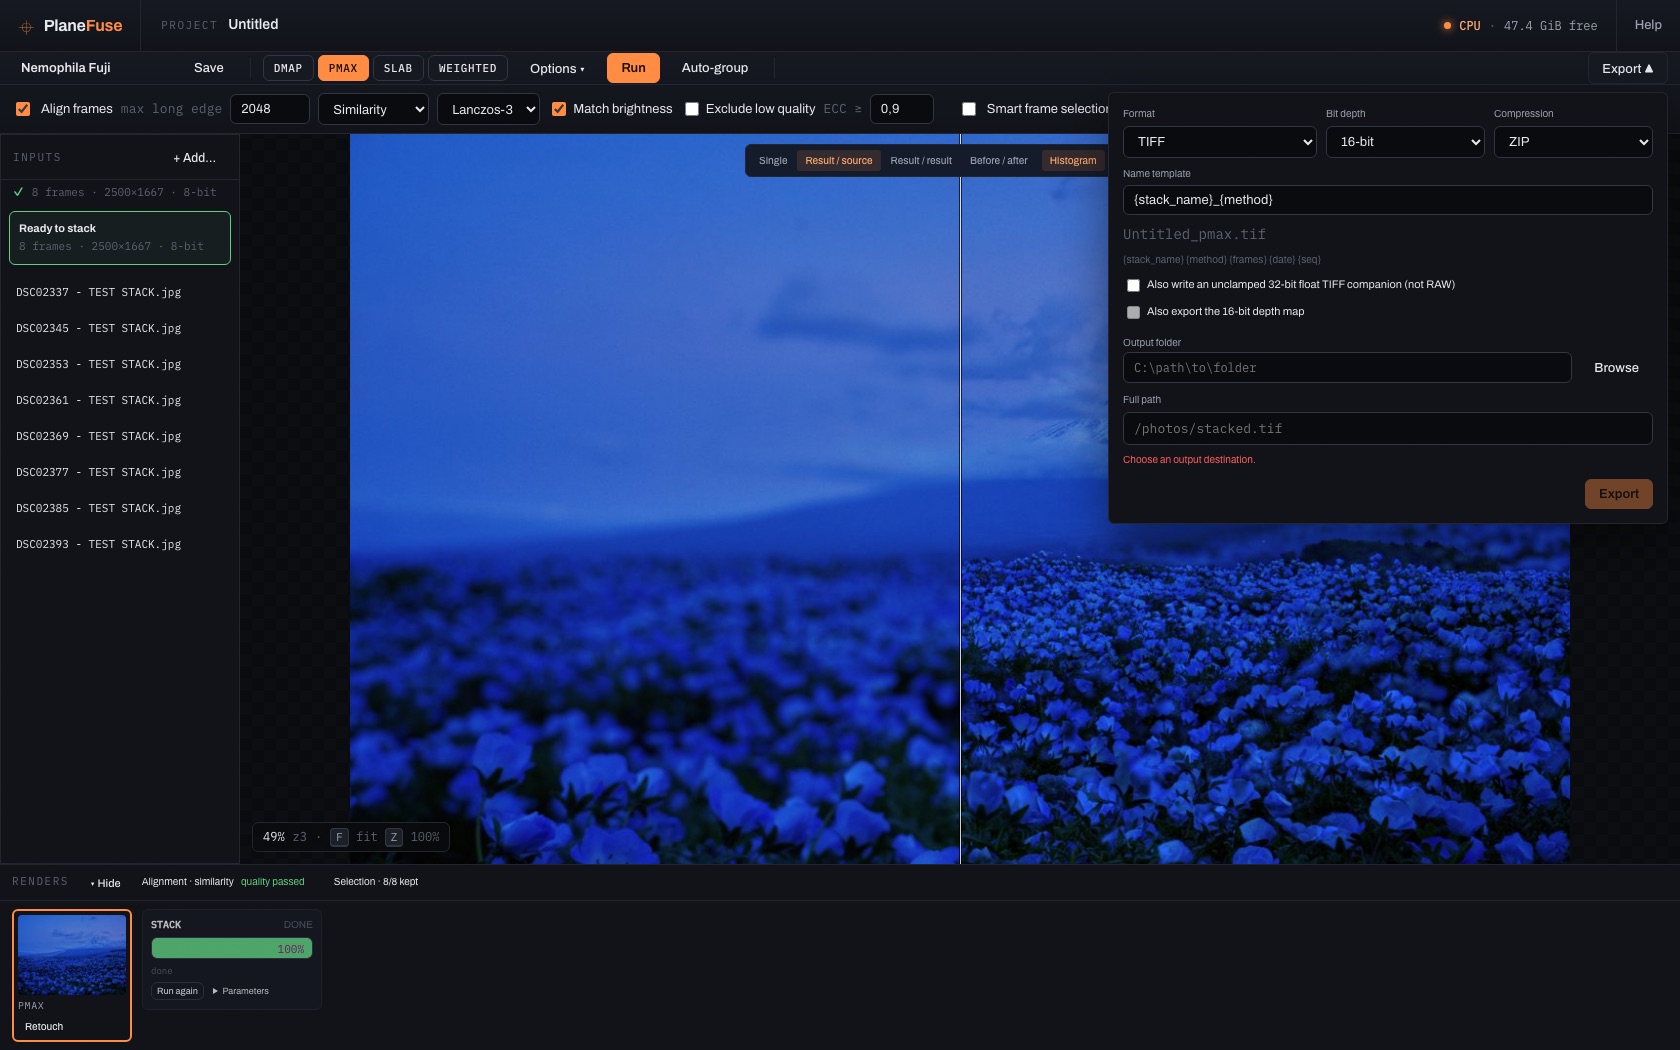
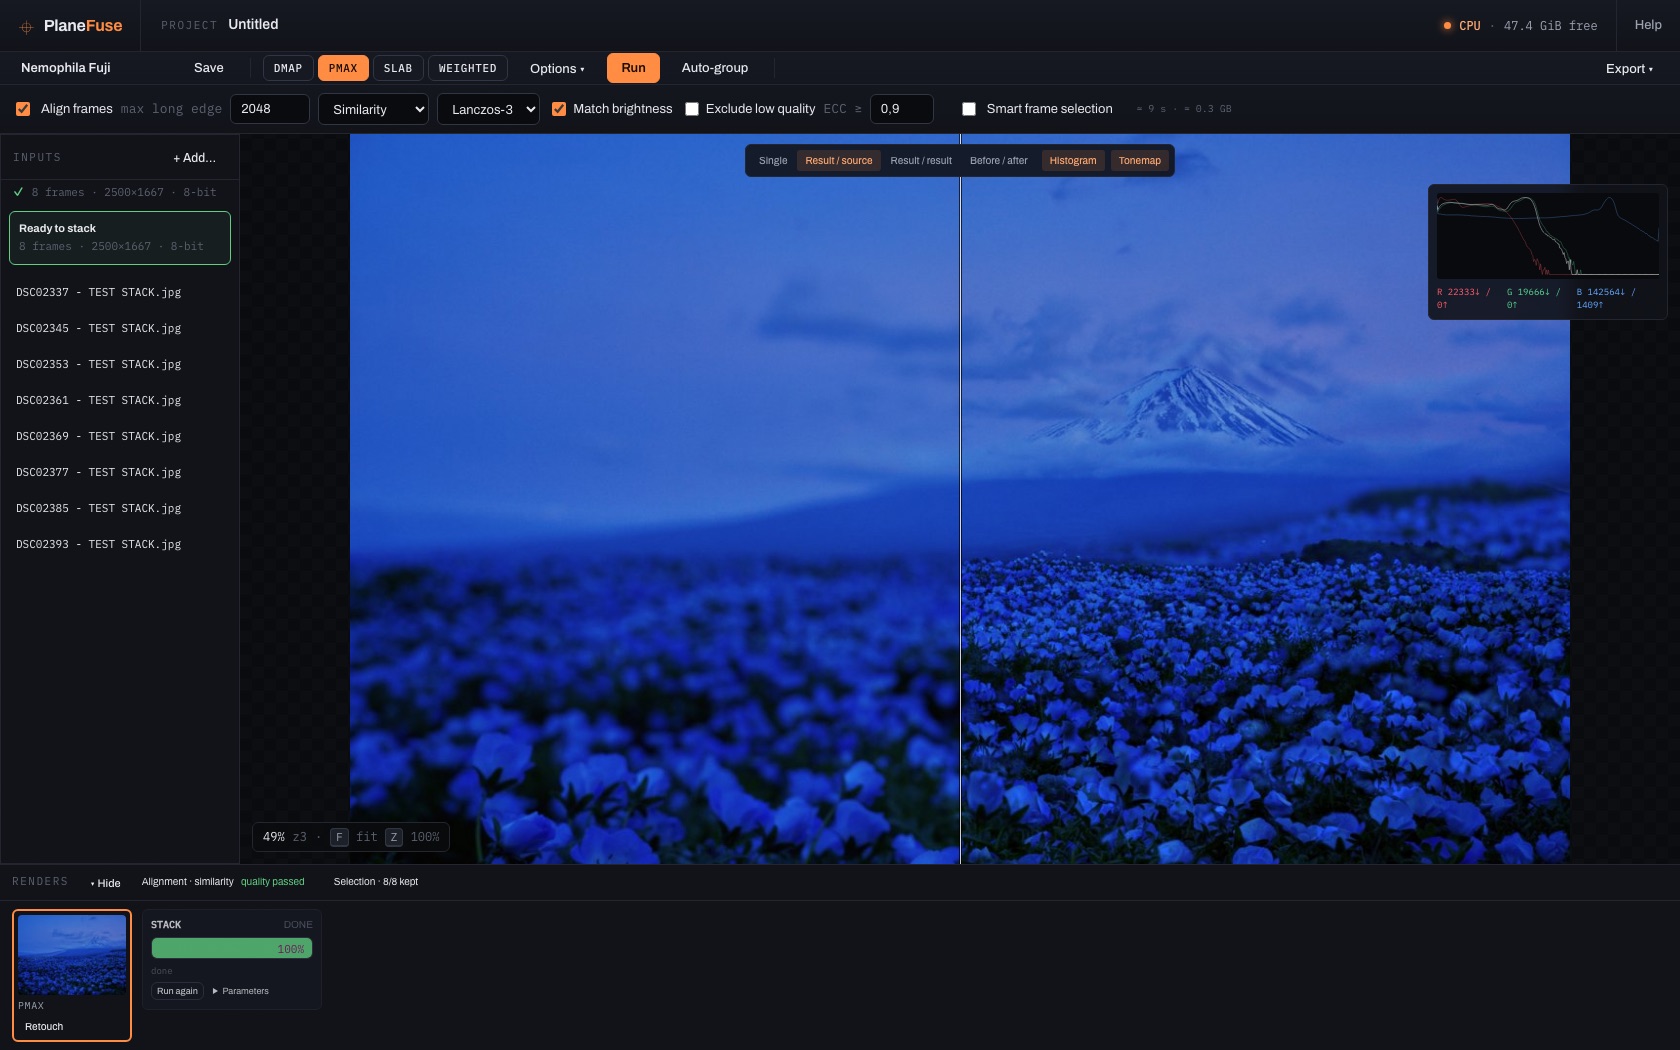
I check every stack at 100% before I export it. The workspace lets me pan around the full-resolution result, split it against a source frame, compare methods, hold for before and after, and watch clipping on a live histogram.
Built-in retouching
A moved leaf or a bad alignment can leave a halo or soft patch. Pick any source frame or result and paint the clean area back in at full resolution. Your original stays untouched.
GPU acceleration, CLI & API
PlaneFuse uses CUDA on NVIDIA cards and MPS on Apple silicon, then falls back to the CPU if it has to. I also added a CLI and local HTTP/WebSocket API because I often batch long runs of macro sequences.
RAW workflow
RAW in, real RAW out.
Most stacking software develops RAW files on the way in. The file comes back with a white balance and tone curve already applied, and sometimes sharpening too. I wanted to make those decisions after stacking. PlaneFuse uses a deliberately plain decode: unit white balance, linear gamma, no auto brightness, denoise or sharpening. It fuses in the camera's own scene-linear RGB and writes a 16-bit, lossless, LibRaw-validated Linear DNG. Capture One and other raw developers open it like a normal capture, so I can grade the finished stack once.
Workspace
See exactly what changed.
I look at every stack before I export it. The workspace shows the full-resolution result, so I can pan around at 100%, split it against a source frame, compare methods and check clipping on the live histogram. If PMax left a halo around a flower stem, I want to find it before it ends up in a print.
Comparison
How it stacks up against Zerene, Helicon, and ShineStacker
I've used Zerene Stacker and Helicon Focus professionally for years. This is how the four programs differ on the things I care about.
| PlaneFuse | Zerene Stacker | Helicon Focus | ShineStacker | |
|---|---|---|---|---|
| License / price | Free, open source (MIT) | $89+ (Personal/Pro) | $30–240 by tier | Free, open source (LGPL) |
| Interface | Local web app | Native desktop (Java) | Native desktop | Native desktop (Qt6) |
| Platforms | macOS, Windows, Linux | Windows, macOS, Linux | Windows, macOS | Windows, macOS, Linux |
| GPU acceleration | CUDA + Apple MPS | Not published | Not published | Not published |
| RAW handling | No-bake: scene-linear fuse → re-editable Linear DNG | Renders internally | Renders internally | Renders internally |
| Automation | CLI + local HTTP/WebSocket API | GUI batch scripting | GUI batch, Remote | Python API + Jupyter |
Pricing and feature tiers change, so check each vendor's site for the latest. The full feature-by-feature comparison is in the README.
FAQ
Common questions
Is PlaneFuse really free?
Yes. It is MIT-licensed and free for personal or commercial work. There are no tiers or telemetry. I built it for my own shoots and put the source on GitHub.
Can I focus stack RAW files?
Yes. PlaneFuse fuses them in scene-linear camera RGB and exports a re-editable Linear DNG. It does not develop them into a finished look first. Every frame in a RAW stack must come from the same camera and sensor mode.
Does it run on Apple Silicon?
Yes, via Metal (MPS) automatically. NVIDIA machines use CUDA; everywhere else falls back to CPU, with automatic tiled processing if GPU memory runs out.
Are my photos uploaded anywhere?
No. I use PlaneFuse for client work and unpublished projects. Everything runs on your machine, bound to 127.0.0.1. It reads source photos in place and never modifies or deletes them.
How many photos do I need for a focus stack?
Depends on the subject. My landscape brackets are usually 3–5 frames; some of my macro work runs 150–200+. Smart frame selection can thin the redundant ones out either way.
Get PlaneFuse
Set it up once. Then open it with a double-click.
PlaneFuse is not packaged as a regular desktop app yet. The first launch needs two free helpers; once they are installed, you can start it with a double-click. It does not need an account, and your photos stay on your computer.
-
Download PlaneFuse
Open the downloaded ZIP, then put the PlaneFuse folder somewhere permanent, such as your Documents folder.
Download PlaneFuse (.zip) ↓ -
Prepare your computer once
Install Node.js first (choose the LTS version), then install uv. PlaneFuse uses them for setup. Once they are installed, you do not need to open either one yourself.
-
Open PlaneFuse
On a Mac, double-click Launch PlaneFuse.command. On Windows, double-click Launch PlaneFuse.bat. Keep the small launcher window open while you work.
Your browser opens automatically. The first opening can take a few minutes; later openings take seconds.
Why does it open in a browser? The interface opens in a browser, but PlaneFuse itself is still running on your computer. It reads your originals without changing them and does not upload them.
Developers & advanced users
Source code, Linux and Docker setup, command line, API, and full installation notes.
MIT License · Free for personal and commercial use